
Have You Accidentally Deleted Your Photos?
We’ve all been there. One minute you’re scrolling through your gallery, and the next, you accidentally hit delete. Losing precious memories can be frustrating, especially when you think they’re gone forever. But don’t panic just yet! There are ways to recover deleted photos Android users often overlook. Understanding the recovery process can save you time and heartache.
In the digital age, where our smartphones are our primary cameras, it’s not uncommon for photos to be deleted unintentionally. One of my friends, Sarah, once lost her entire vacation album when she mistakenly tapped the wrong button. After a moment of sheer panic, she discovered she could recover her images by following the methods we’ll explore in this guide. Fortunately, Android devices offer various methods to retrieve lost files. This guide will walk you through effective strategies and tools to help you recover your precious images.
Understanding Photo Deletion on Android Devices
When you delete a photo on your Android device, it doesn’t vanish immediately. Instead, it typically moves to a temporary storage area known as the ‘trash’ or ‘recycle bin’. This means the file still exists on your device until it’s overwritten by new data. Understanding this concept is crucial because the sooner you act, the higher the chances of recovery.
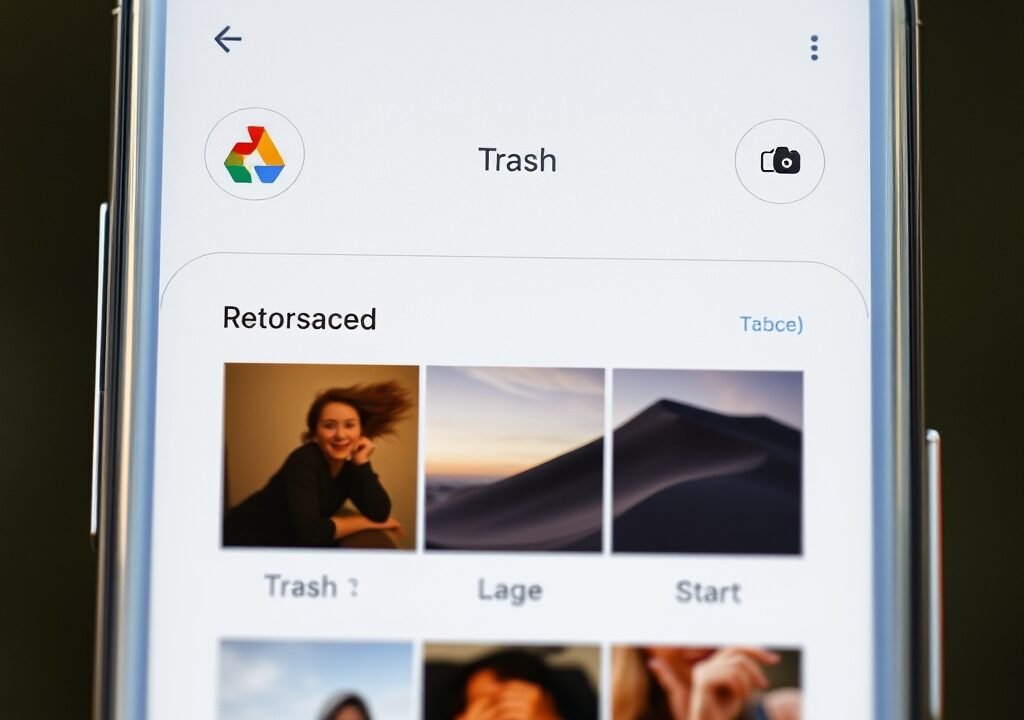
Many Android devices come equipped with built-in recycle bin features, allowing users to restore deleted photos within a specific timeframe. For instance, Google Photos has a ‘Trash’ folder that retains deleted images for 30 days before permanently removing them. This feature is a lifesaver, especially for those who might have deleted images by mistake. By knowing how your device handles deleted photos, you can strategize the best recovery methods.
Immediate Steps to Take After Deleting Photos
After realizing that you’ve deleted an important photo, it’s vital to act quickly. Here’s what you should do:
- Stop Using Your Device: The more you use your Android device, the higher the chance of overwriting the deleted files. This is crucial because once the data is overwritten, recovery becomes impossible. When my cousin lost a series of family photos, he initially thought he could just take a few more pictures. This ended up complicating the recovery process.
- Check the Google Photos App: If you have Google Photos installed, check the app first. Open the app, go to the ‘Trash’ or ‘Bin’ section, and see if your deleted images are there. You might be surprised at how many times this simple step solves the problem.
- Look in Other Gallery Apps: Some devices come pre-installed with multiple gallery apps. Check other apps you might have installed, as they may also have their own recycle bins. If you’ve installed a third-party gallery app, it’s worth a look!
By following these immediate steps, you increase your chances of recovering your deleted photos without needing specialized software.
Using Google Photos to Recover Deleted Photos
If you’re using Google Photos, recovering deleted photos is straightforward. The app has a built-in feature that temporarily stores deleted photos in a trash bin. Here’s how to use it:
- Open the Google Photos app on your Android device.
- Tap on the ‘Library’ icon at the bottom right corner.
- Select ‘Trash’ or ‘Bin’ from the options.
- Browse through the deleted photos. Select the images you wish to recover.
- Tap ‘Restore’. The photos will return to your main library.
This method can be a lifesaver, especially if you realize your mistake within the 30-day window. But what if the photos aren’t in Google Photos? You might be thinking, “What now?” Don’t worry; there are other avenues to explore!
Third-Party Apps for Photo Recovery
When built-in options fail, third-party recovery apps can come to the rescue. Several applications specialize in recovering deleted files on Android devices. Here are some popular options: Increase Android Storage Space: Top Tips & Tricks
- DiskDigger: This app can recover lost photos and other files from your memory card. It requires root access for deeper scans but can be incredibly effective. I had a friend who successfully retrieved wedding photos using DiskDigger after a mishap during a phone update.
- EaseUS MobiSaver: Known for its user-friendly interface, this app allows you to recover photos, videos, and contacts easily. It’s a go-to for many users who aren’t tech-savvy.
- PhotoRec: A powerful open-source software that can recover lost files from hard drives, memory cards, and digital cameras. It’s more technical but offers comprehensive recovery options. You might need a bit of patience with the learning curve, but it’s worth it for serious cases.
Before downloading any app, ensure it has good reviews and is from a reputable developer. Always check for compatibility with your Android version to avoid issues. Choosing the right app can be the difference between recovery and permanent loss.
How to Use Recovery Apps
Using recovery apps can seem daunting, but it’s a straightforward process. Here’s a general guide on how to use most recovery applications:
- Download the desired recovery app from the Google Play Store.
- Install and launch the app. You may need to grant permissions for the app to access your storage. This step is crucial for the app’s functionality.
- Choose the type of file you want to recover (in this case, photos).
- Start the scanning process. Depending on the size of your storage and the number of files, this may take some time. Be patient; the results can be rewarding.
- Once the scan is complete, browse through the results and select the photos you want to recover.
- Follow the prompts to restore your selected images.
Remember, success rates can vary based on how much time has passed since deletion and whether the data has been overwritten. Patience is key! I’ve had days where I spent hours trying to recover a single lost image, but the satisfaction of retrieving it was well worth the effort.
Preventing Future Photo Loss
While it’s great to know how to recover deleted photos on Android, it’s even better to prevent loss in the first place. Here are some tips to safeguard your precious memories:
- Regular Backups: Make it a habit to back up your photos regularly. Use cloud services like Google Drive or Dropbox to store your images securely. A friend of mine swears by Google Drive for keeping her family photos safe.
- Use the Automatic Backup Feature: Many apps, including Google Photos, allow you to set up automatic backups. Enable this feature to ensure your photos are saved without manual intervention. This way, you can focus on capturing moments instead of worrying about losing them.
- Be Cautious with Deletions: Always double-check before deleting any photos. Ask yourself if you truly want to remove them permanently. This simple habit has saved me countless hours of recovery attempts.
By implementing these preventive measures, you can rest easy knowing your photos are safe, minimizing the need to recover deleted photos Android users often face.
Using Android’s Built-In File Manager
Many Android devices come with a built-in file manager that can help you locate deleted files. While not specifically designed for photo recovery, it can be useful for navigating your files effectively. Here’s how to use it:
- Open the File Manager app on your Android device.
- Navigate to the ‘Internal Storage’ or ‘SD Card’ section.
- Look for a folder named ‘DCIM’ or ‘Pictures’.
- Check for any hidden folders or files that might contain your deleted images.
Some file managers also have a ‘Recover’ feature, allowing you to scan for deleted files. If your device supports this feature, it’s worth exploring. I once stumbled upon a forgotten folder in my file manager that had several lost images I thought were gone forever!
External Backup Solutions
If you’re serious about photo storage, consider external backup solutions. External hard drives and USB drives can provide an additional layer of safety for your data. Here’s how to set it up:
- Purchase a reliable external storage device.
- Connect it to your Android device using a compatible cable or adapter.
- Use the file manager to transfer your photos to the external device.
- Regularly update this backup to include new photos. Set a reminder on your calendar to ensure you don’t forget!
External storage not only protects against accidental deletions but also offers additional space for your growing collection of memories. I’ve found that having my photos on an external drive gives me peace of mind, knowing they’re safe from accidental loss.
When Recovery Options Fail
Sometimes, despite your best efforts, you may not be able to recover your deleted photos. If that happens, consider these options:
- Professional Data Recovery Services: Many companies specialize in data recovery. They can often retrieve lost files, but this service can be expensive. If the photos are irreplaceable, it might be worth the investment.
- Accepting Loss: While it’s difficult, accepting that some photos may be permanently lost can be a healthy step. Focus on creating new memories instead. I once lost a whole batch of travel photos and learned to cherish the memories instead of the images.
Remember, the digital world can be unpredictable, but being prepared can significantly reduce stress when mishaps occur.
FAQs
1. Can I recover deleted photos from my Android phone after 30 days?
If the photos were deleted from Google Photos, they would no longer be available in the ‘Trash’ after 30 days. However, you can try third-party recovery apps, but success isn’t guaranteed. Always act quickly!
2. Do I need root access to recover deleted photos?
Not all recovery apps require root access, but having it can enhance the effectiveness of certain apps. Apps like DiskDigger have features that work without root, while others may need it for deeper scans.
3. What should I do if my recovery app isn’t working?
If your recovery app isn’t yielding results, try another app or check the settings to ensure it has the necessary permissions. Sometimes, multiple apps can yield different results.
4. Is it safe to use third-party recovery apps?
Most recovery apps are safe, but it’s essential to download from reputable sources like the Google Play Store. Always read user reviews and avoid apps with poor ratings or suspicious permissions.
5. How can I ensure my photos are backed up regularly?
Set up automatic backups using Google Photos or other cloud services. This way, your photos will be backed up without you having to remember to do it manually. For more tips on managing your device efficiently, check out our article on Increasing Android Storage Space: Top Tips & Tricks.